# netty-quickstart
**Repository Path**: wangfugui-ma/netty-quickstart
## Basic Information
- **Project Name**: netty-quickstart
- **Description**: netty的quickstart,适合有nio基础的同学快速启动netty
- **Primary Language**: Java
- **License**: Apache-2.0
- **Default Branch**: master
- **Homepage**: None
- **GVP Project**: No
## Statistics
- **Stars**: 1
- **Forks**: 2
- **Created**: 2022-05-27
- **Last Updated**: 2023-12-27
## Categories & Tags
**Categories**: Uncategorized
**Tags**: Netty
## README
## 在学习netty之前我们需要了解netty是个什么东西?
> 1) Netty 是由 JBOSS 提供的一个 Java 开源框架,现为 Github上的独立项目。
> 2) Netty 是一个异步的、基于事件驱动的网络应用框架,用以快速开发高性能、高可 靠性的网络 IO 程序。
> 3) Netty主要针对在TCP协议下,面向Clients端的高并发应用,或者Peer-to-Peer场景下 的大量数据持续传输的应用。
> 4) Netty本质是一个NIO框架,适用于服务器通讯相关的多种应用场景
## 介绍完netty,那么哪些地方用到了它呢?
> 互联网行业
> 1) 互联网行业:在分布式系统中,各个 节点之间需要远程服务调用,高性能 的 RPC 框架必不可少,Netty 作为异步 高性能的通信框架,往往作为基础通 信组件被这些 RPC 框架使用。
> 2) 典型的应用有:阿里分布式服务框架 Dubbo 的 RPC 框架使用 Dubbo 协议进 行节点间通信,Dubbo 协议默认使用 Netty 作为基础通信组件,用于实现各 进程节点之间的内部通信
> 游戏行业
> 1) 无论是手游服务端还是大型的网络游戏, Java 语言得到了越来越广泛的应用
> 2) Netty 作为高性能的基础通信组件,提 供了 TCP/UDP 和 HTTP 协议栈,方便定 制和开发私有协议栈,账号登录服务器
> 3) 地图服务器之间可以方便的通过 Netty 进行高性能的通信
> 大数据领域
> 1) 经典的 Hadoop 的高性能通信和 序列化组件 Avro 的 RPC 框架, 默认采用 Netty 进行跨界点通信
> 2) 它的 Netty Service 基于 Netty 框 架二次封装实现。
## 在进入nio的学习之前我们还有一个IO模型需要我们去了解
> Java共支持3种网络编程模型/IO模式:BIO、NIO、AIO
> 1) Java BIO : 同步并阻塞(传统阻塞型),服务器实现模式为一个连接一个线程,即客户端 有连接请求时服务器端就需要启动一个线程进行处理,如果这个连接不做任何事情会造成 不必要的线程开销
> 2) Java NIO : 同步非阻塞,服务器实现模式为一个线程处理多个请求(连接),即客户端发 送的连接请求都会注册到多路复用器上,多路复用器轮询到连接有I/O请求就进行处理
> 3) Java AIO(NIO.2) : 异步非阻塞,AIO 引入异步通道的概念,采用了 Proactor 模式,简 化了程序编写,有效的请求才启动线程,它的特点是先由操作系统完成后才通知服务端程
## 好了,有了上面的知识我们大概可以快速开始一个netty项目了
最开始我们是要创建一个maven项目,然后添加netty的依赖
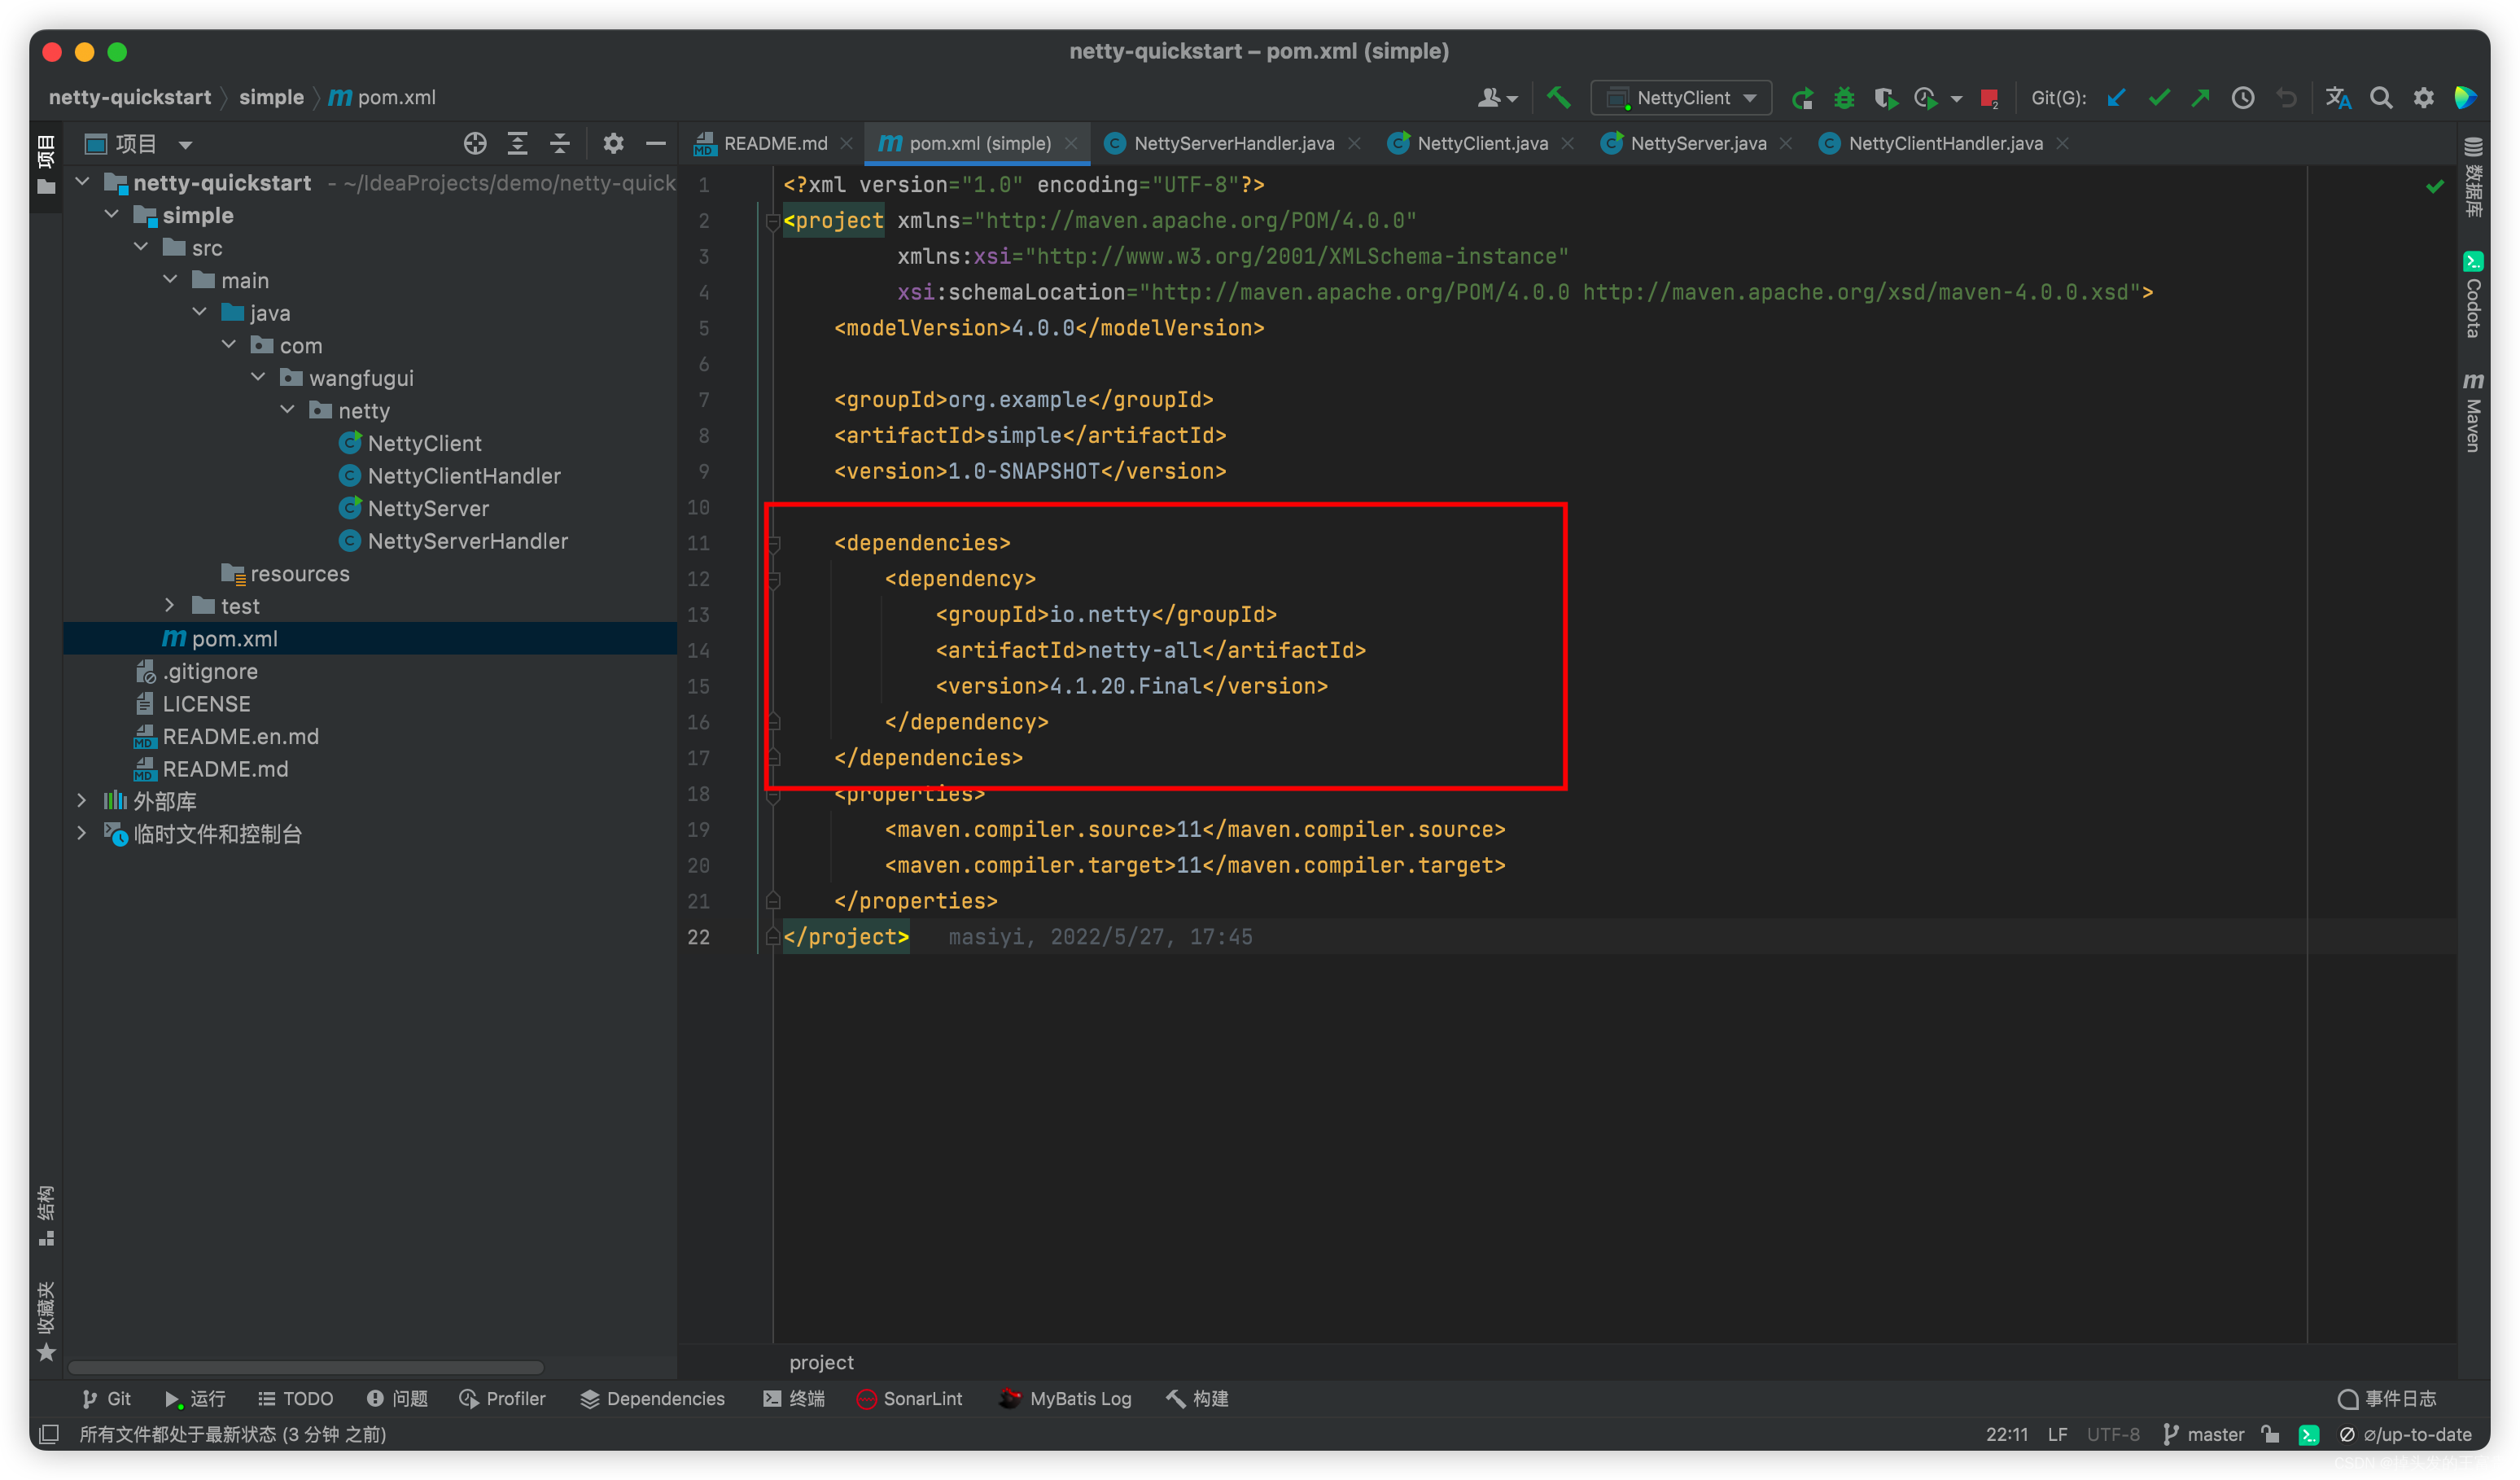
```xml
io.netty
netty-all
4.1.20.Final
```
大家可以参考我的netty快速开始的仓库,大家拉下来可以直接跑起来:
[https://gitee.com/WangFuGui-Ma/netty-quickstart](https://gitee.com/WangFuGui-Ma/netty-quickstart)
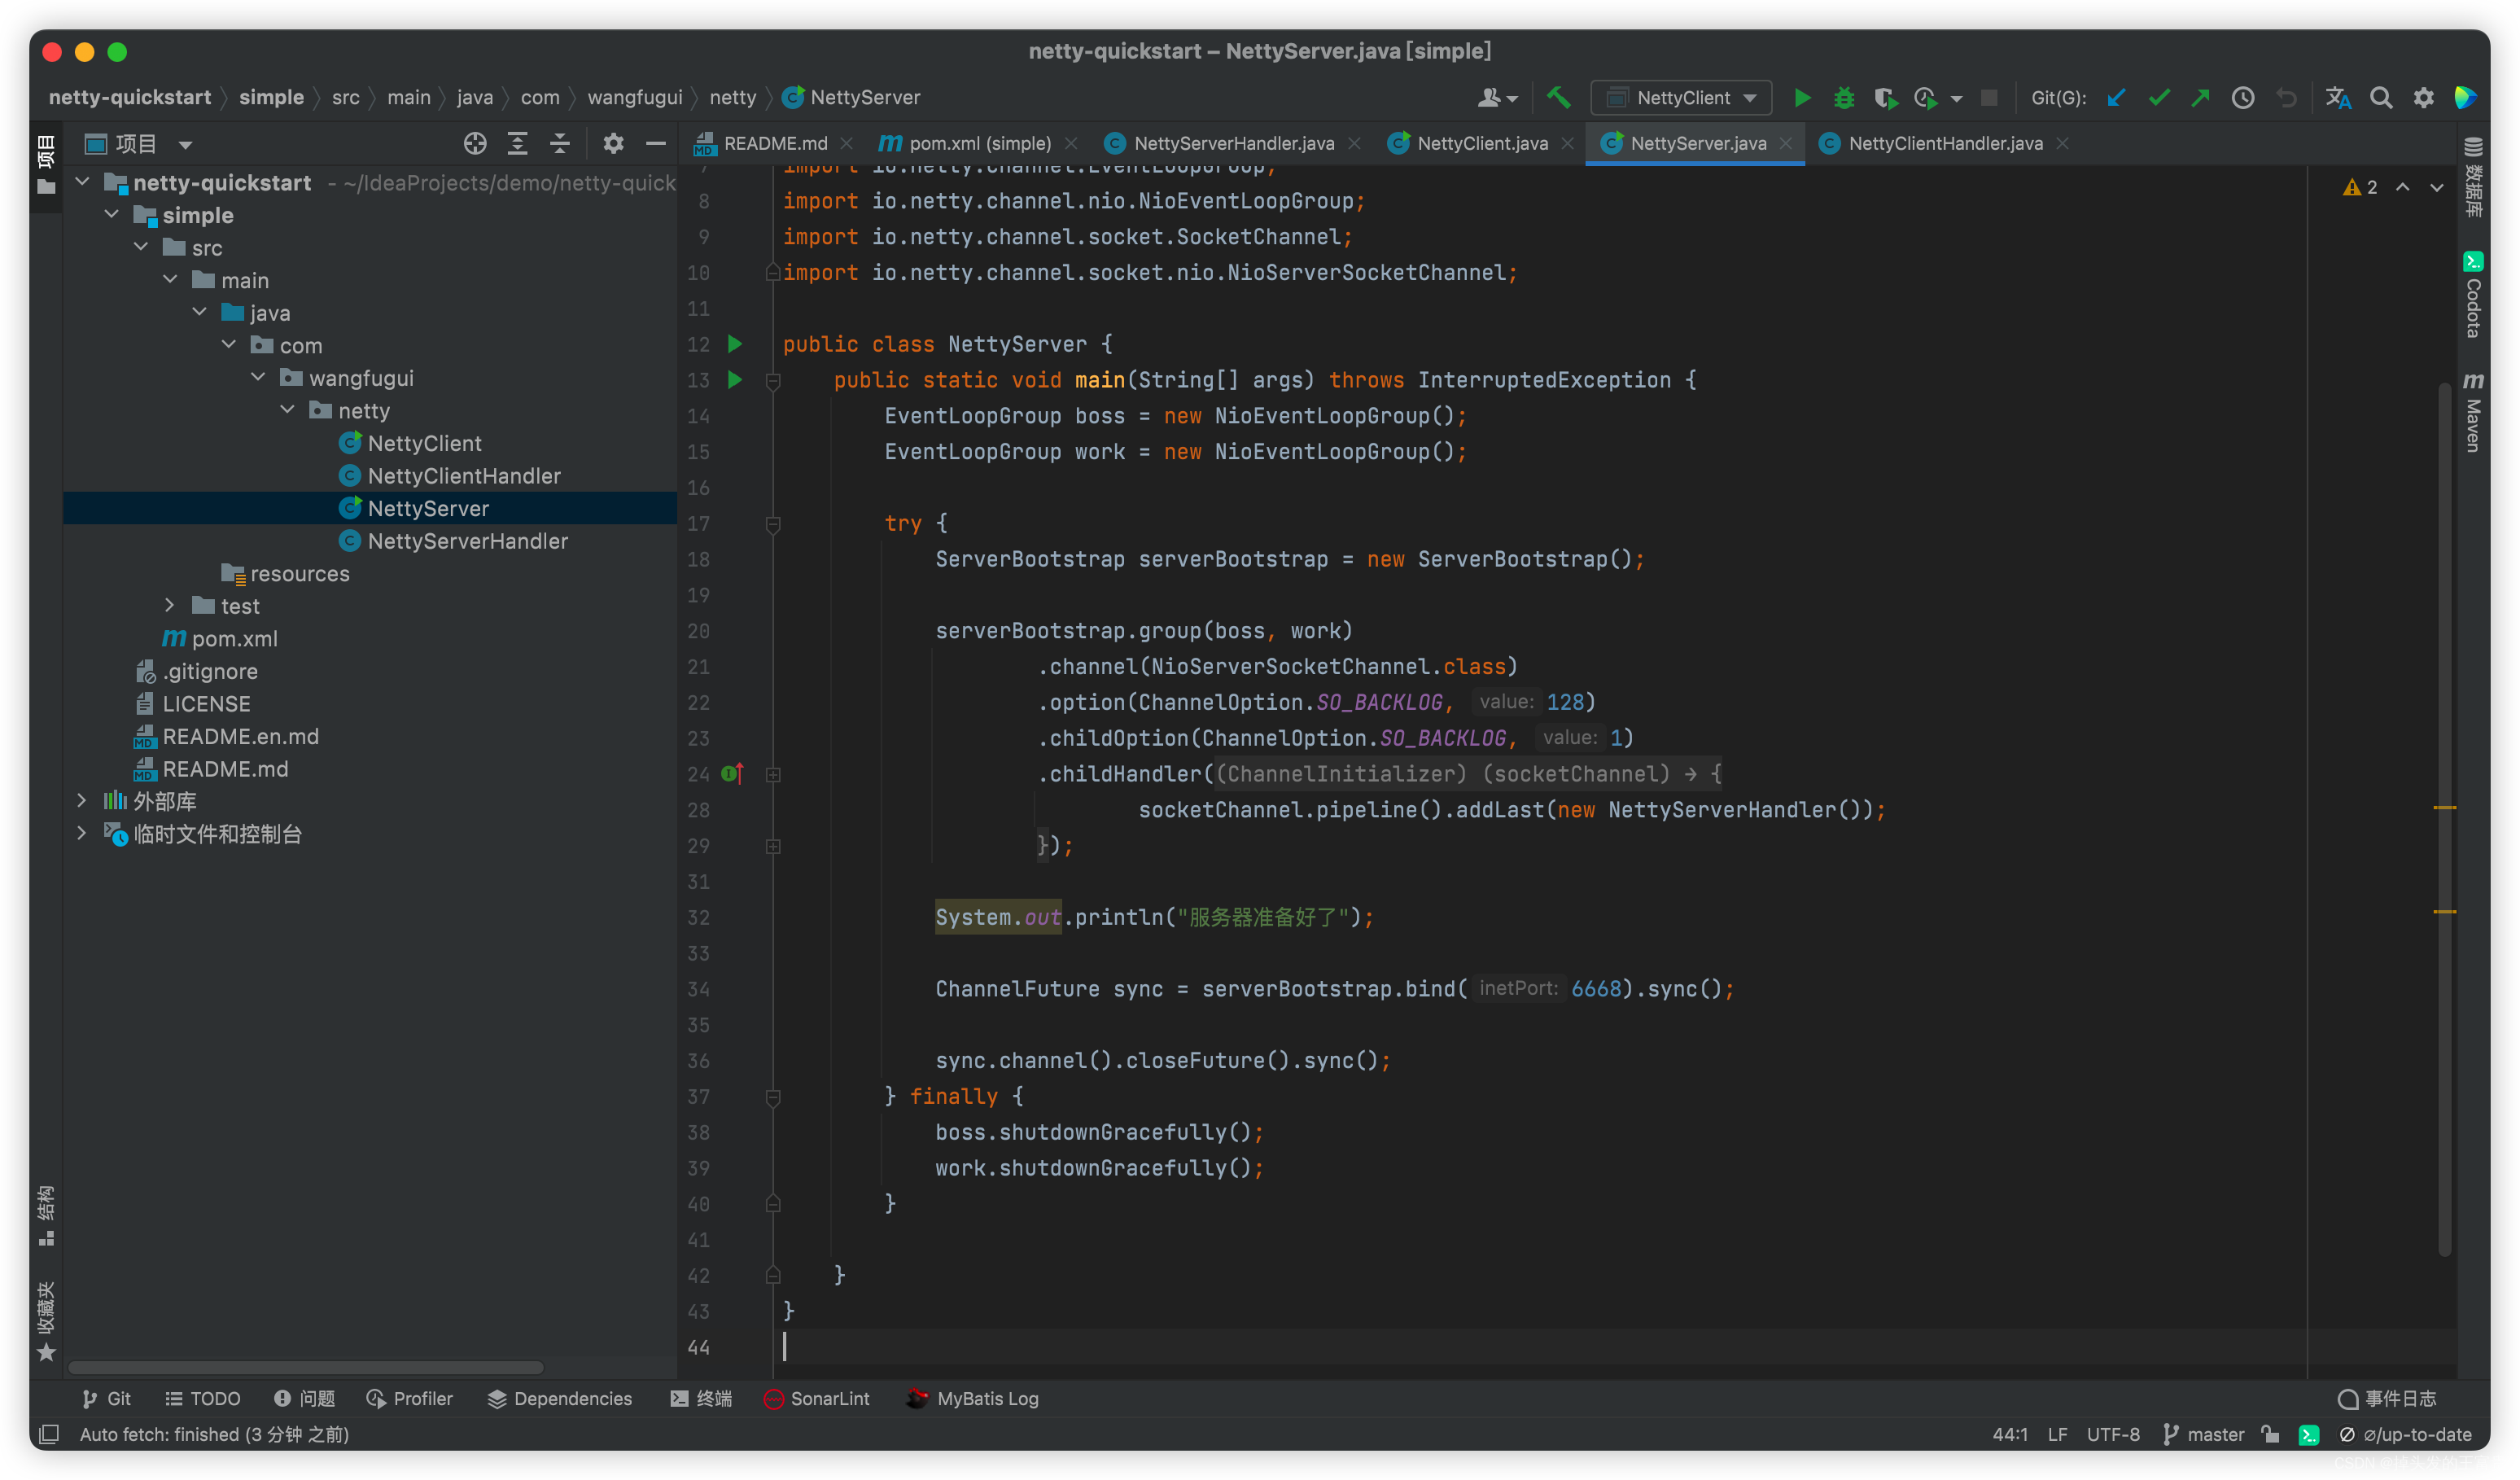
首先我们创建一个`NettyService`
```java
package com.wangfugui.netty;
import io.netty.bootstrap.ServerBootstrap;
import io.netty.channel.ChannelFuture;
import io.netty.channel.ChannelInitializer;
import io.netty.channel.ChannelOption;
import io.netty.channel.EventLoopGroup;
import io.netty.channel.nio.NioEventLoopGroup;
import io.netty.channel.socket.SocketChannel;
import io.netty.channel.socket.nio.NioServerSocketChannel;
public class NettyServer {
public static void main(String[] args) throws InterruptedException {
EventLoopGroup boss = new NioEventLoopGroup();
EventLoopGroup work = new NioEventLoopGroup();
try {
ServerBootstrap serverBootstrap = new ServerBootstrap();
serverBootstrap.group(boss, work)
.channel(NioServerSocketChannel.class)
.option(ChannelOption.SO_BACKLOG, 128)
.childOption(ChannelOption.SO_BACKLOG, 1)
.childHandler(new ChannelInitializer() {
@Override
protected void initChannel(SocketChannel socketChannel) throws Exception {
socketChannel.pipeline().addLast(new NettyServerHandler());
}
});
System.out.println("服务器准备好了");
ChannelFuture sync = serverBootstrap.bind(6668).sync();
sync.channel().closeFuture().sync();
} finally {
boss.shutdownGracefully();
work.shutdownGracefully();
}
}
}
```
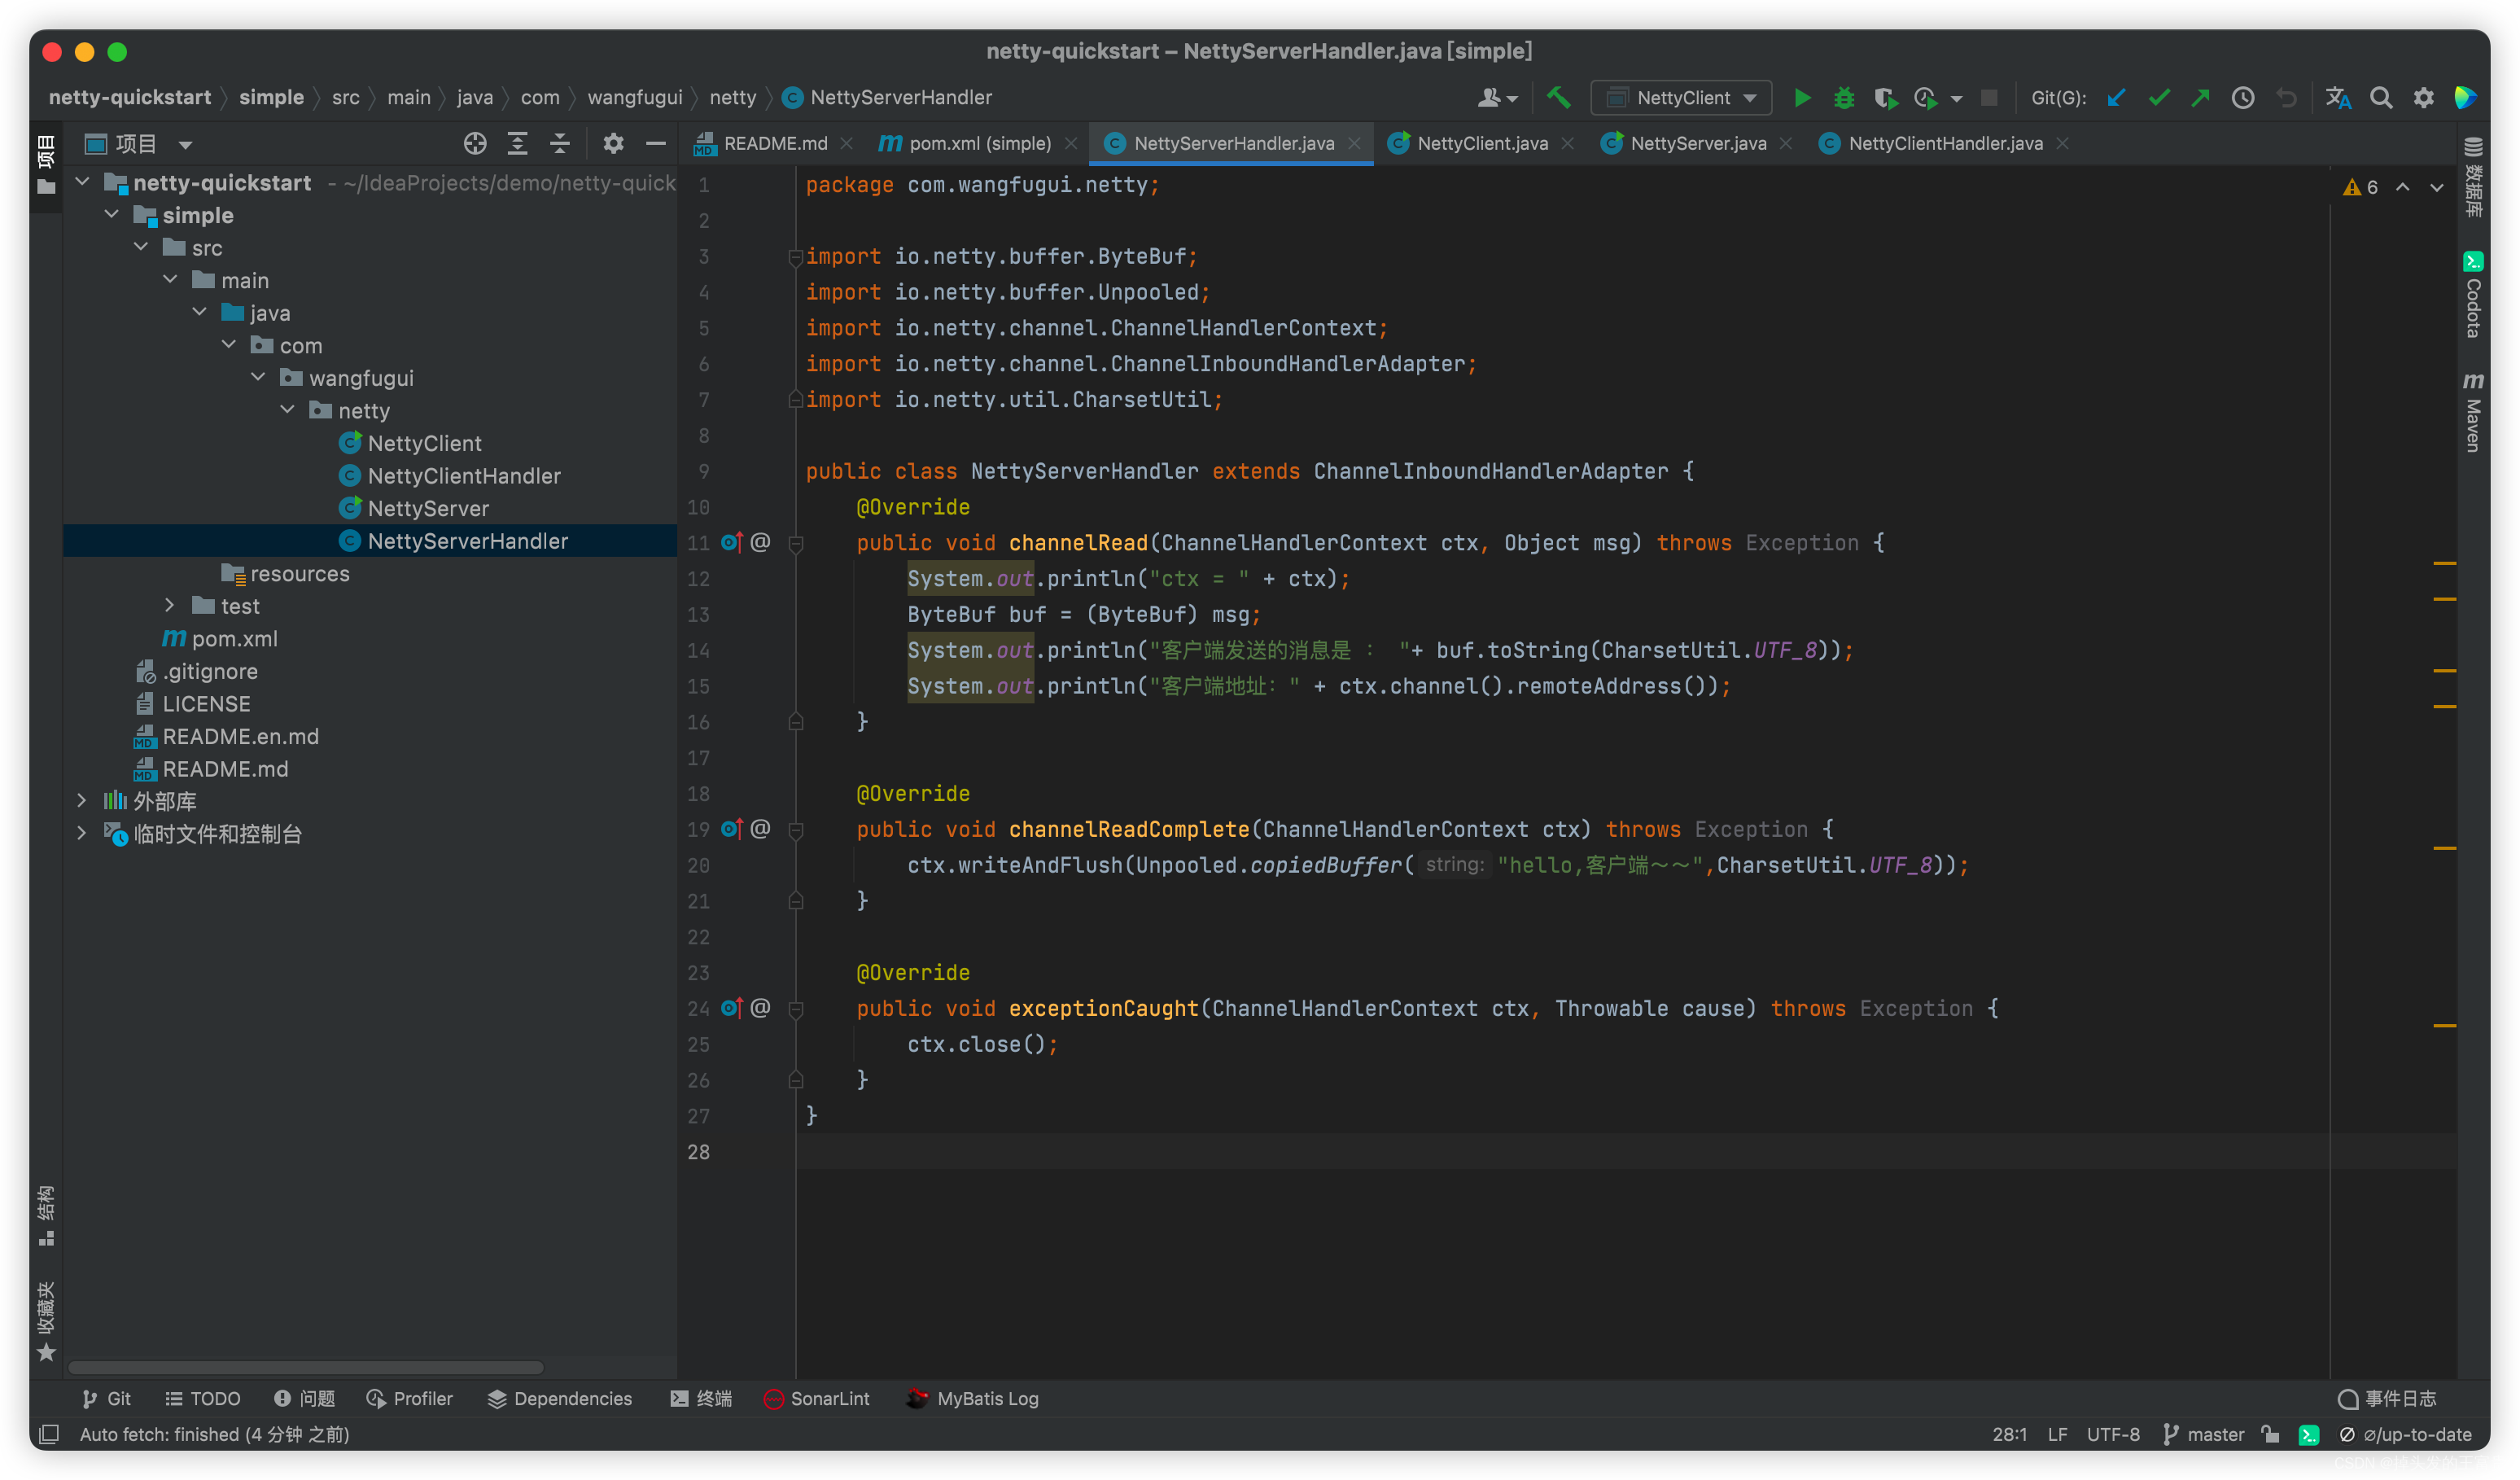
在这之后我们创建service的处理器`NettyServerHandler`
```java
import io.netty.buffer.ByteBuf;
import io.netty.buffer.Unpooled;
import io.netty.channel.ChannelHandlerContext;
import io.netty.channel.ChannelInboundHandlerAdapter;
import io.netty.util.CharsetUtil;
public class NettyServerHandler extends ChannelInboundHandlerAdapter {
@Override
public void channelRead(ChannelHandlerContext ctx, Object msg) throws Exception {
System.out.println("ctx = " + ctx);
ByteBuf buf = (ByteBuf) msg;
System.out.println("客户端发送的消息是 : "+ buf.toString(CharsetUtil.UTF_8));
System.out.println("客户端地址:" + ctx.channel().remoteAddress());
}
@Override
public void channelReadComplete(ChannelHandlerContext ctx) throws Exception {
ctx.writeAndFlush(Unpooled.copiedBuffer("hello,客户端~~",CharsetUtil.UTF_8));
}
@Override
public void exceptionCaught(ChannelHandlerContext ctx, Throwable cause) throws Exception {
ctx.close();
}
}
```
这个时候我们的service就创建好了,之后我们创建客户端

```java
import io.netty.bootstrap.Bootstrap;
import io.netty.channel.ChannelFuture;
import io.netty.channel.ChannelInitializer;
import io.netty.channel.nio.NioEventLoopGroup;
import io.netty.channel.socket.SocketChannel;
import io.netty.channel.socket.nio.NioSocketChannel;
public class NettyClient {
public static void main(String[] args) throws InterruptedException {
NioEventLoopGroup eventExecutors = new NioEventLoopGroup();
try {
Bootstrap bootstrap = new Bootstrap();
bootstrap.group(eventExecutors)
.channel(NioSocketChannel.class)
.handler(new ChannelInitializer() {
@Override
protected void initChannel(SocketChannel socketChannel) throws Exception {
socketChannel.pipeline().addLast(new NettyClientHandler());
}
});
System.out.println("客户端 OK 。。。");
ChannelFuture sync = bootstrap.connect("127.0.0.1", 6668).sync();
sync.channel().closeFuture().sync();
} finally {
eventExecutors.shutdownGracefully();
}
}
}
```
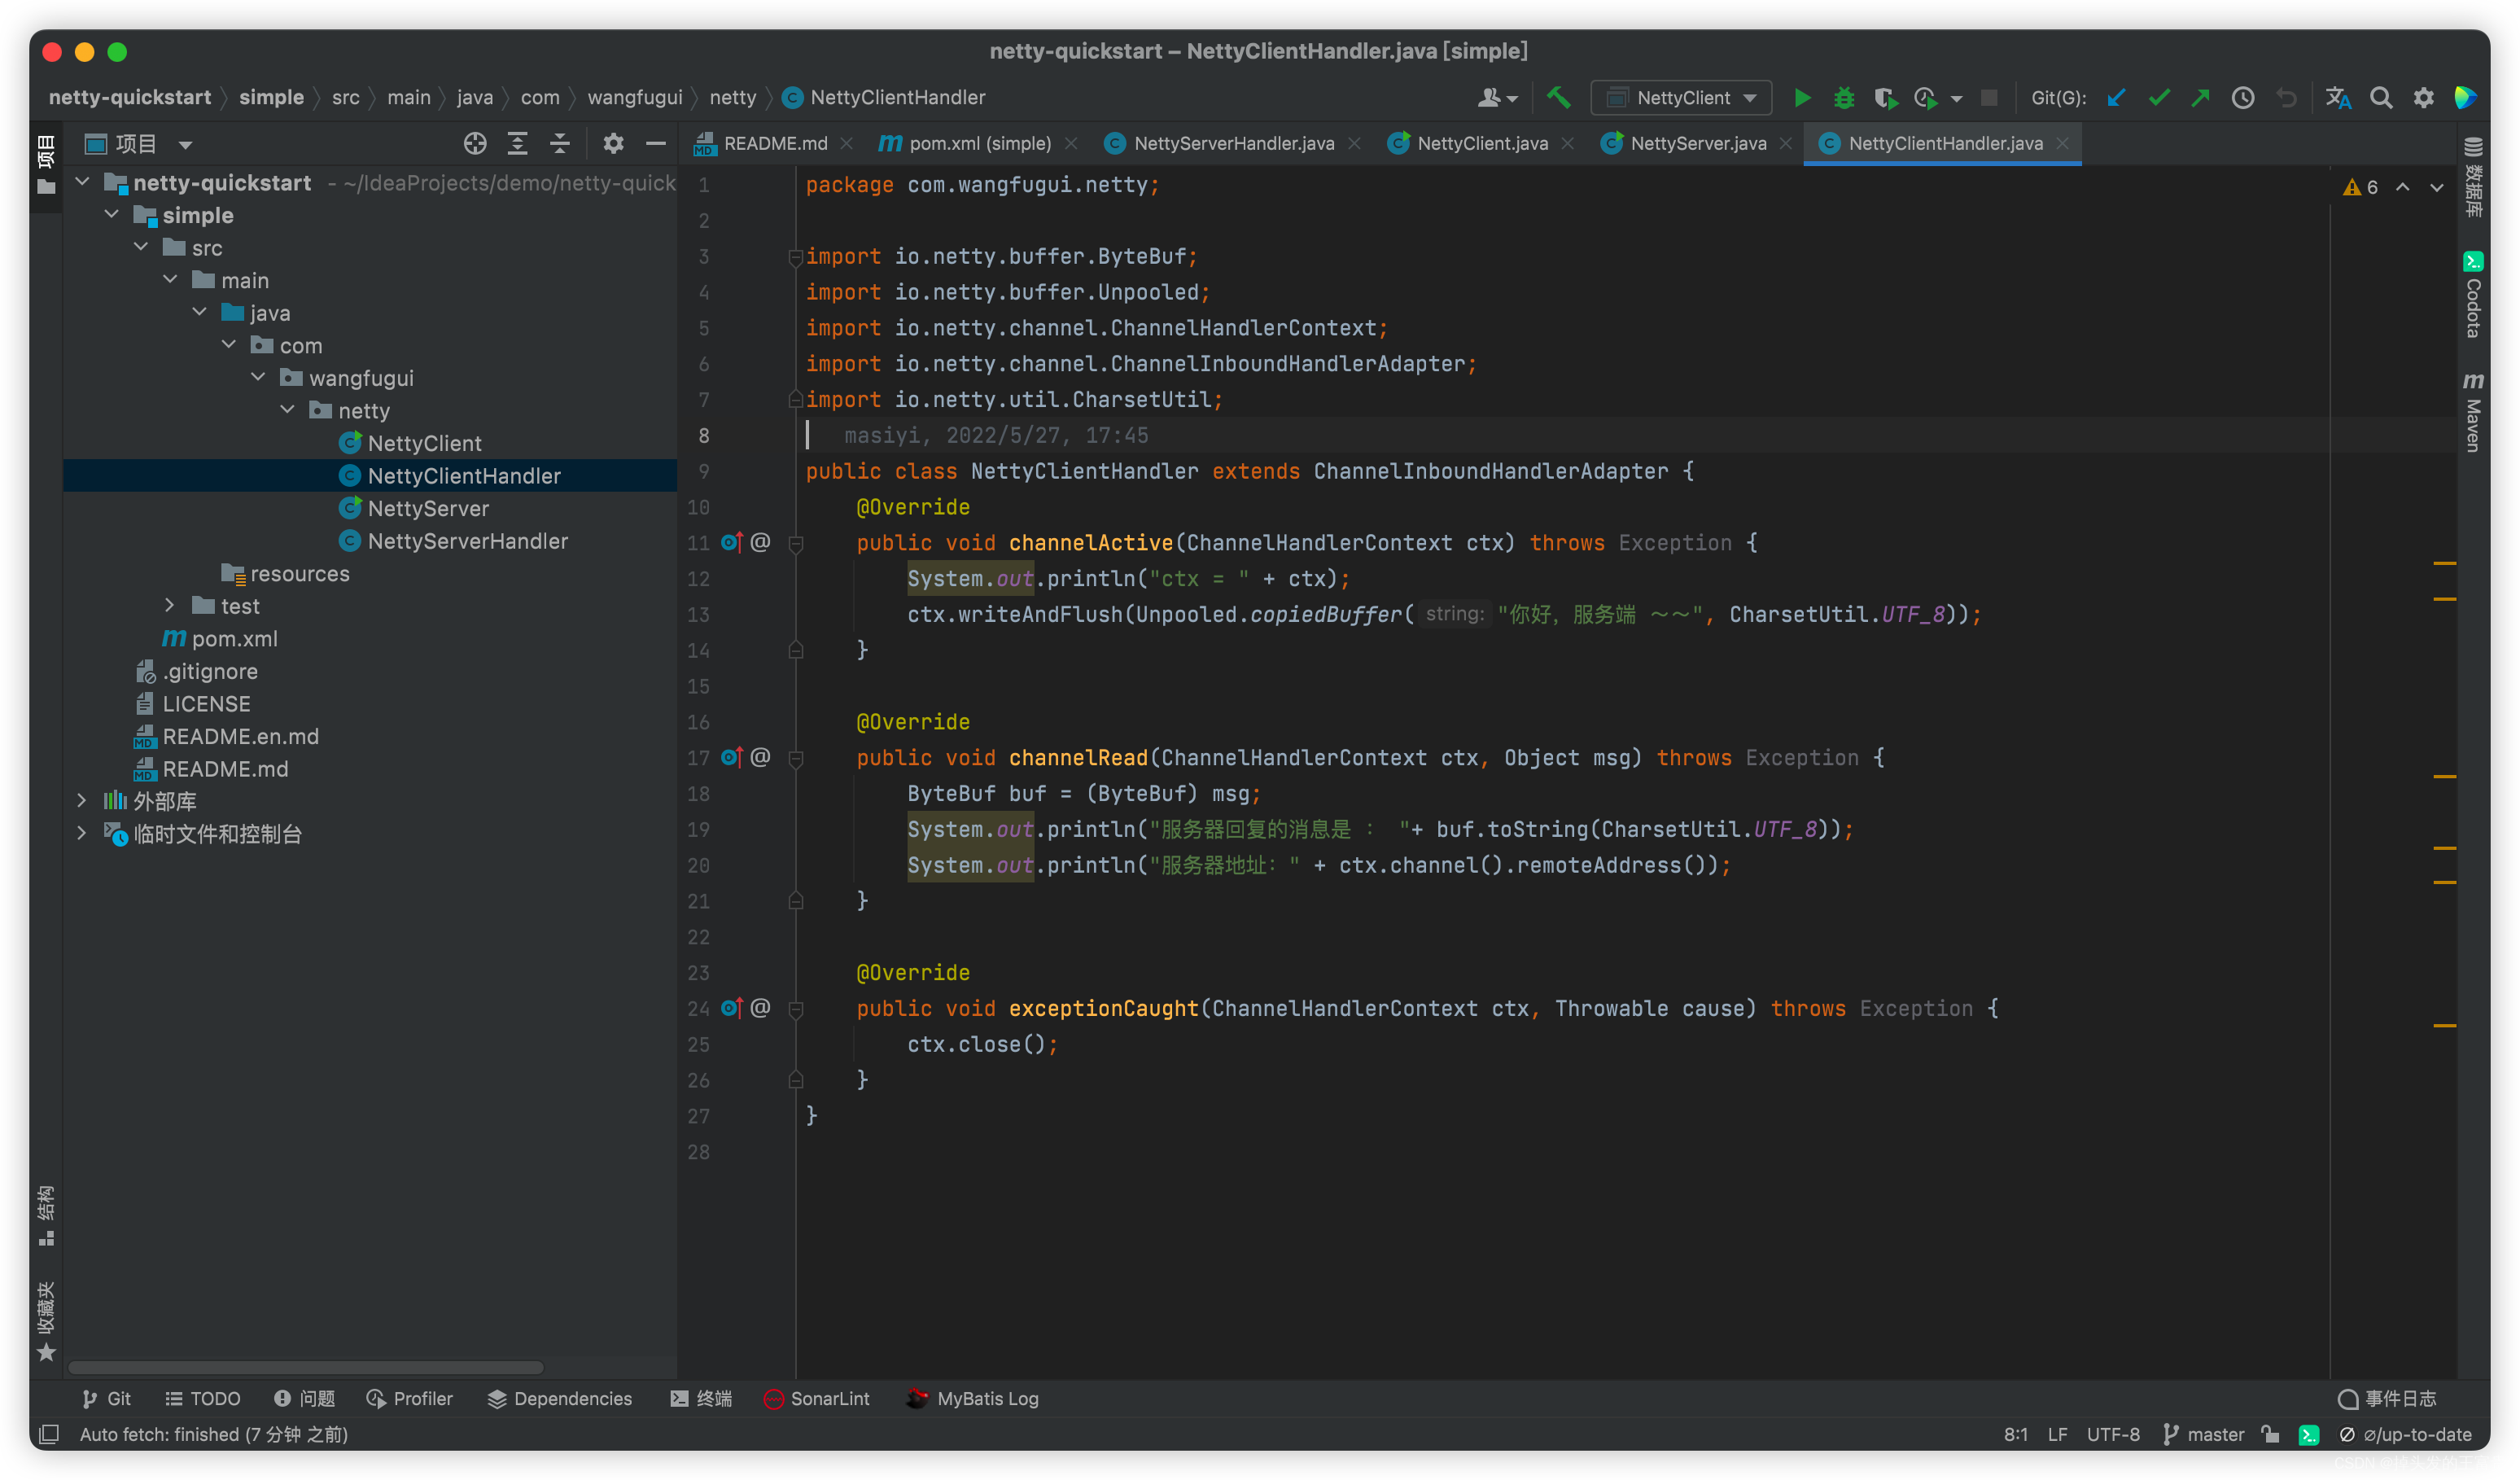
同理,我们也需要创建一个客户端的处理器
```java
import io.netty.buffer.ByteBuf;
import io.netty.buffer.Unpooled;
import io.netty.channel.ChannelHandlerContext;
import io.netty.channel.ChannelInboundHandlerAdapter;
import io.netty.util.CharsetUtil;
public class NettyClientHandler extends ChannelInboundHandlerAdapter {
@Override
public void channelActive(ChannelHandlerContext ctx) throws Exception {
System.out.println("ctx = " + ctx);
ctx.writeAndFlush(Unpooled.copiedBuffer("你好,服务端 ~~", CharsetUtil.UTF_8));
}
@Override
public void channelRead(ChannelHandlerContext ctx, Object msg) throws Exception {
ByteBuf buf = (ByteBuf) msg;
System.out.println("服务器回复的消息是 : "+ buf.toString(CharsetUtil.UTF_8));
System.out.println("服务器地址:" + ctx.channel().remoteAddress());
}
@Override
public void exceptionCaught(ChannelHandlerContext ctx, Throwable cause) throws Exception {
ctx.close();
}
}
```
之后我们依次启动服务端和客户端
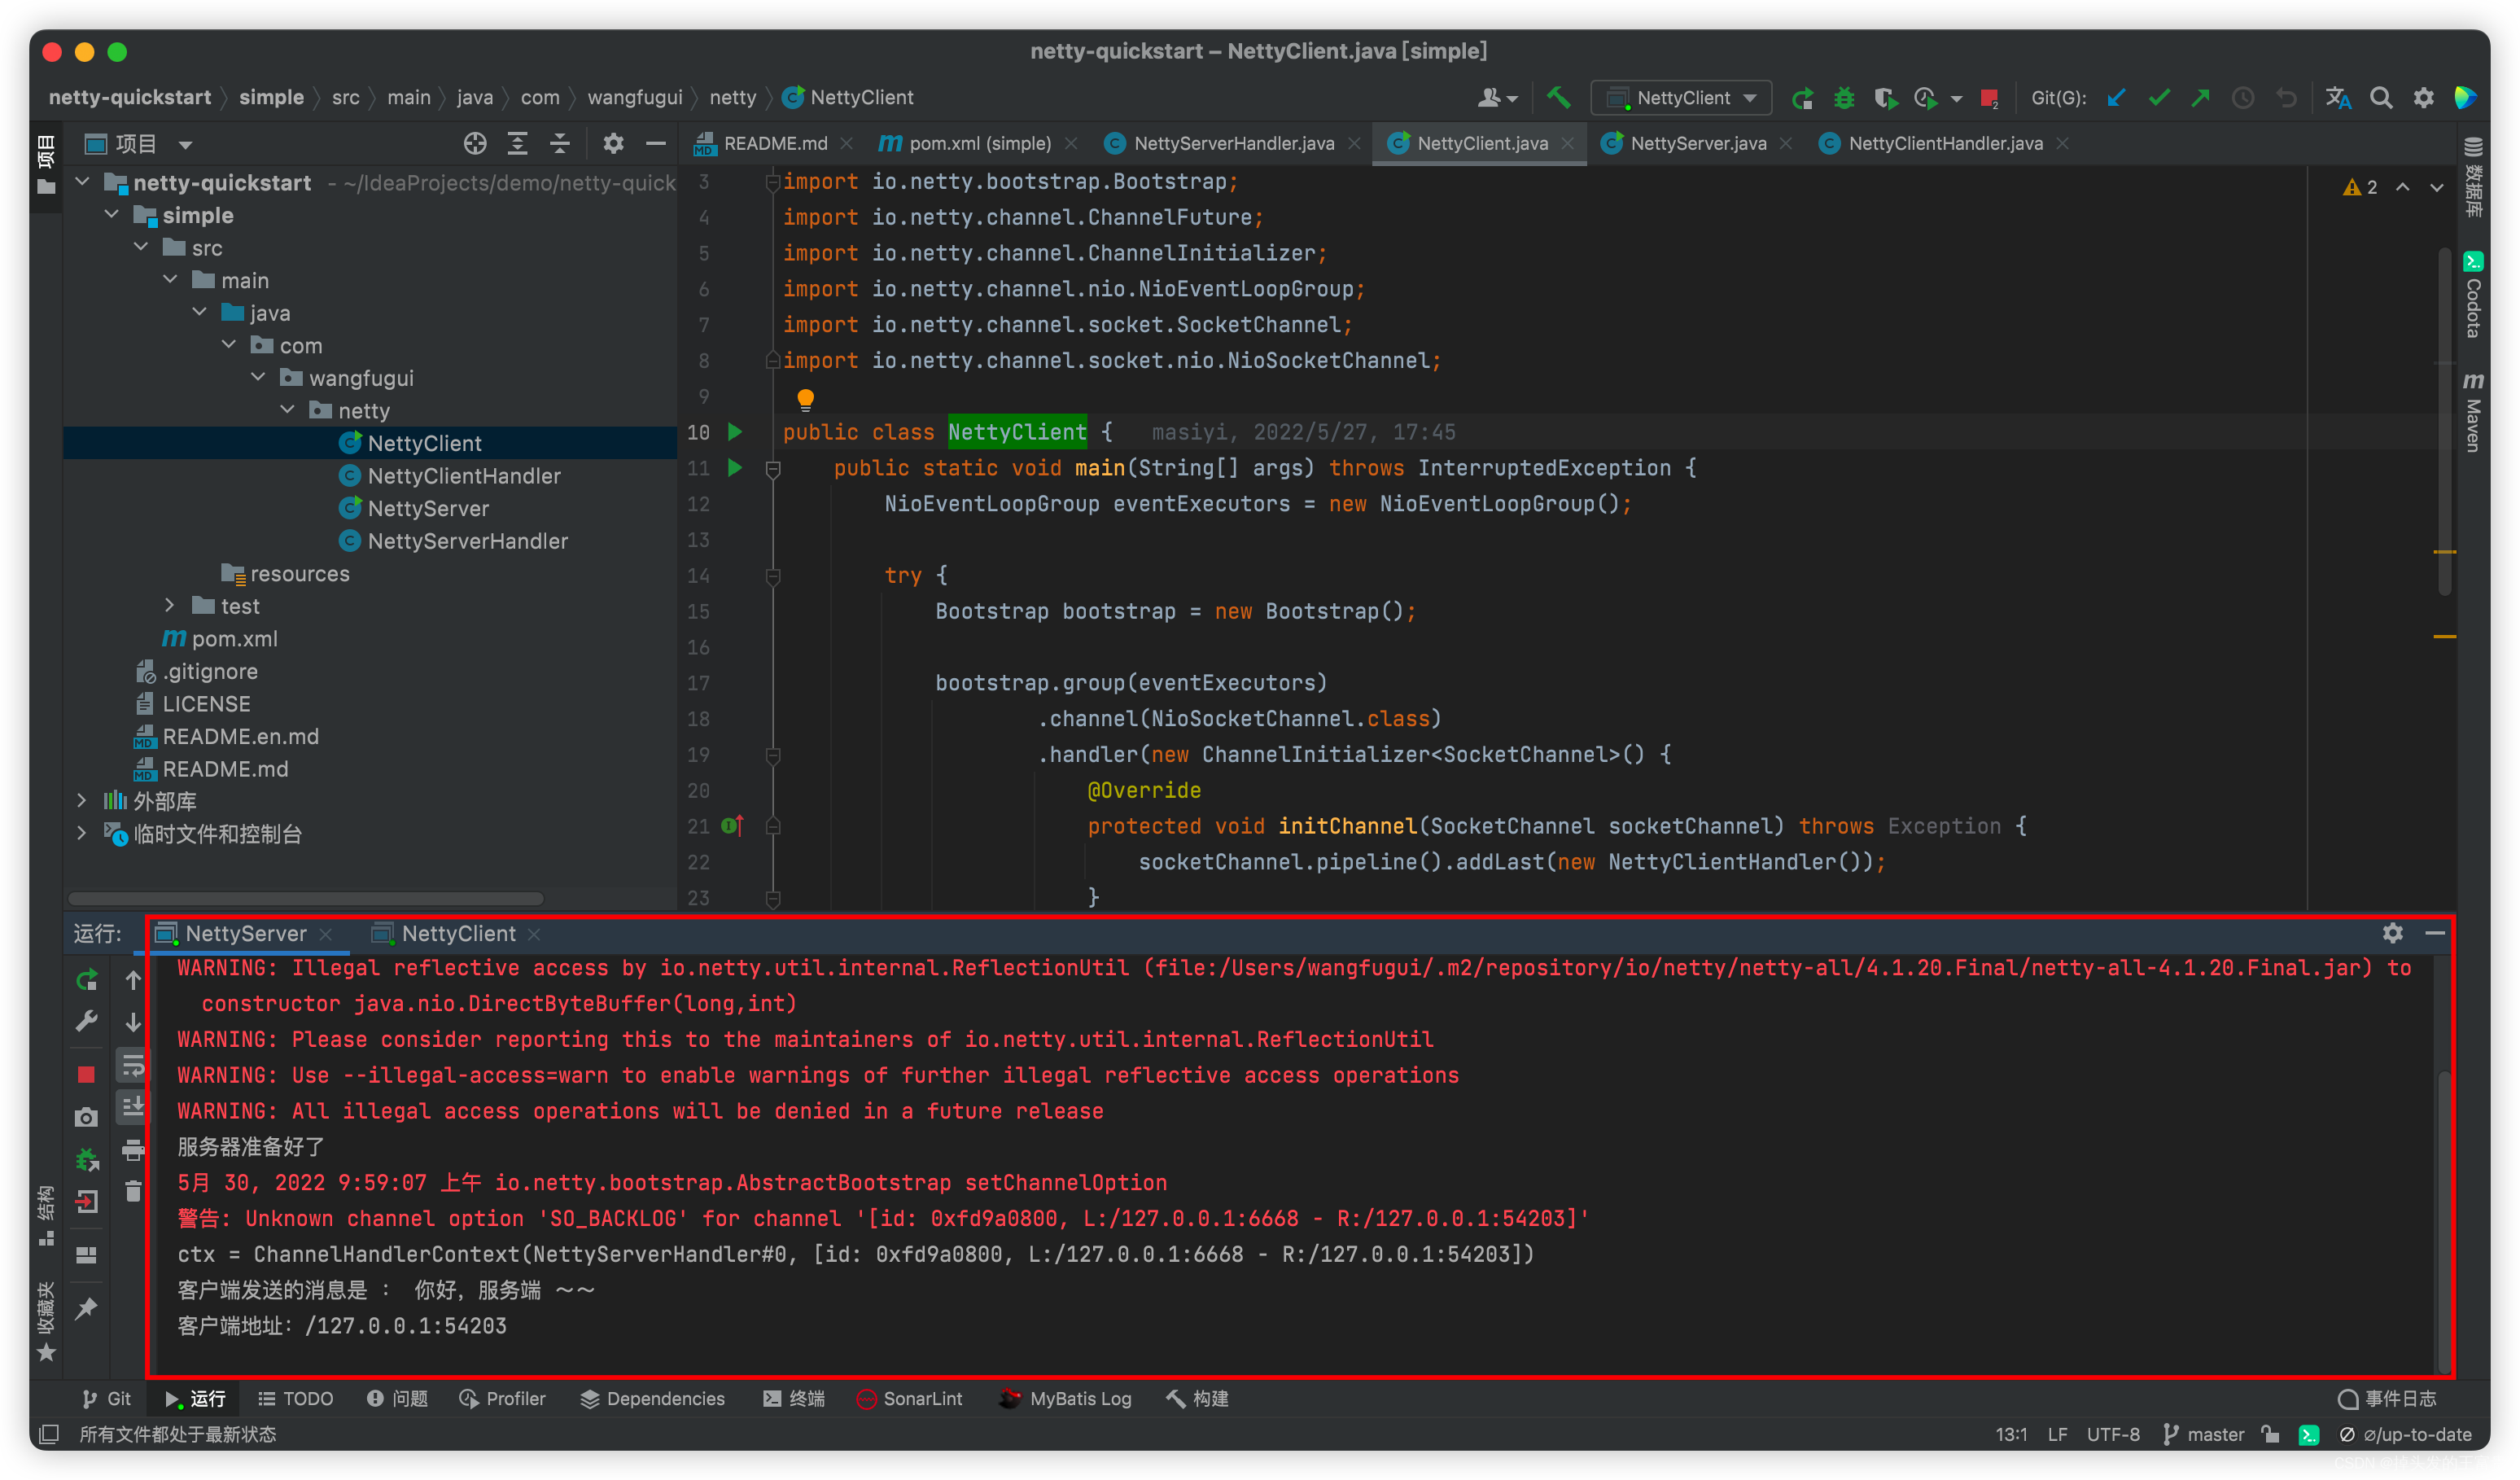
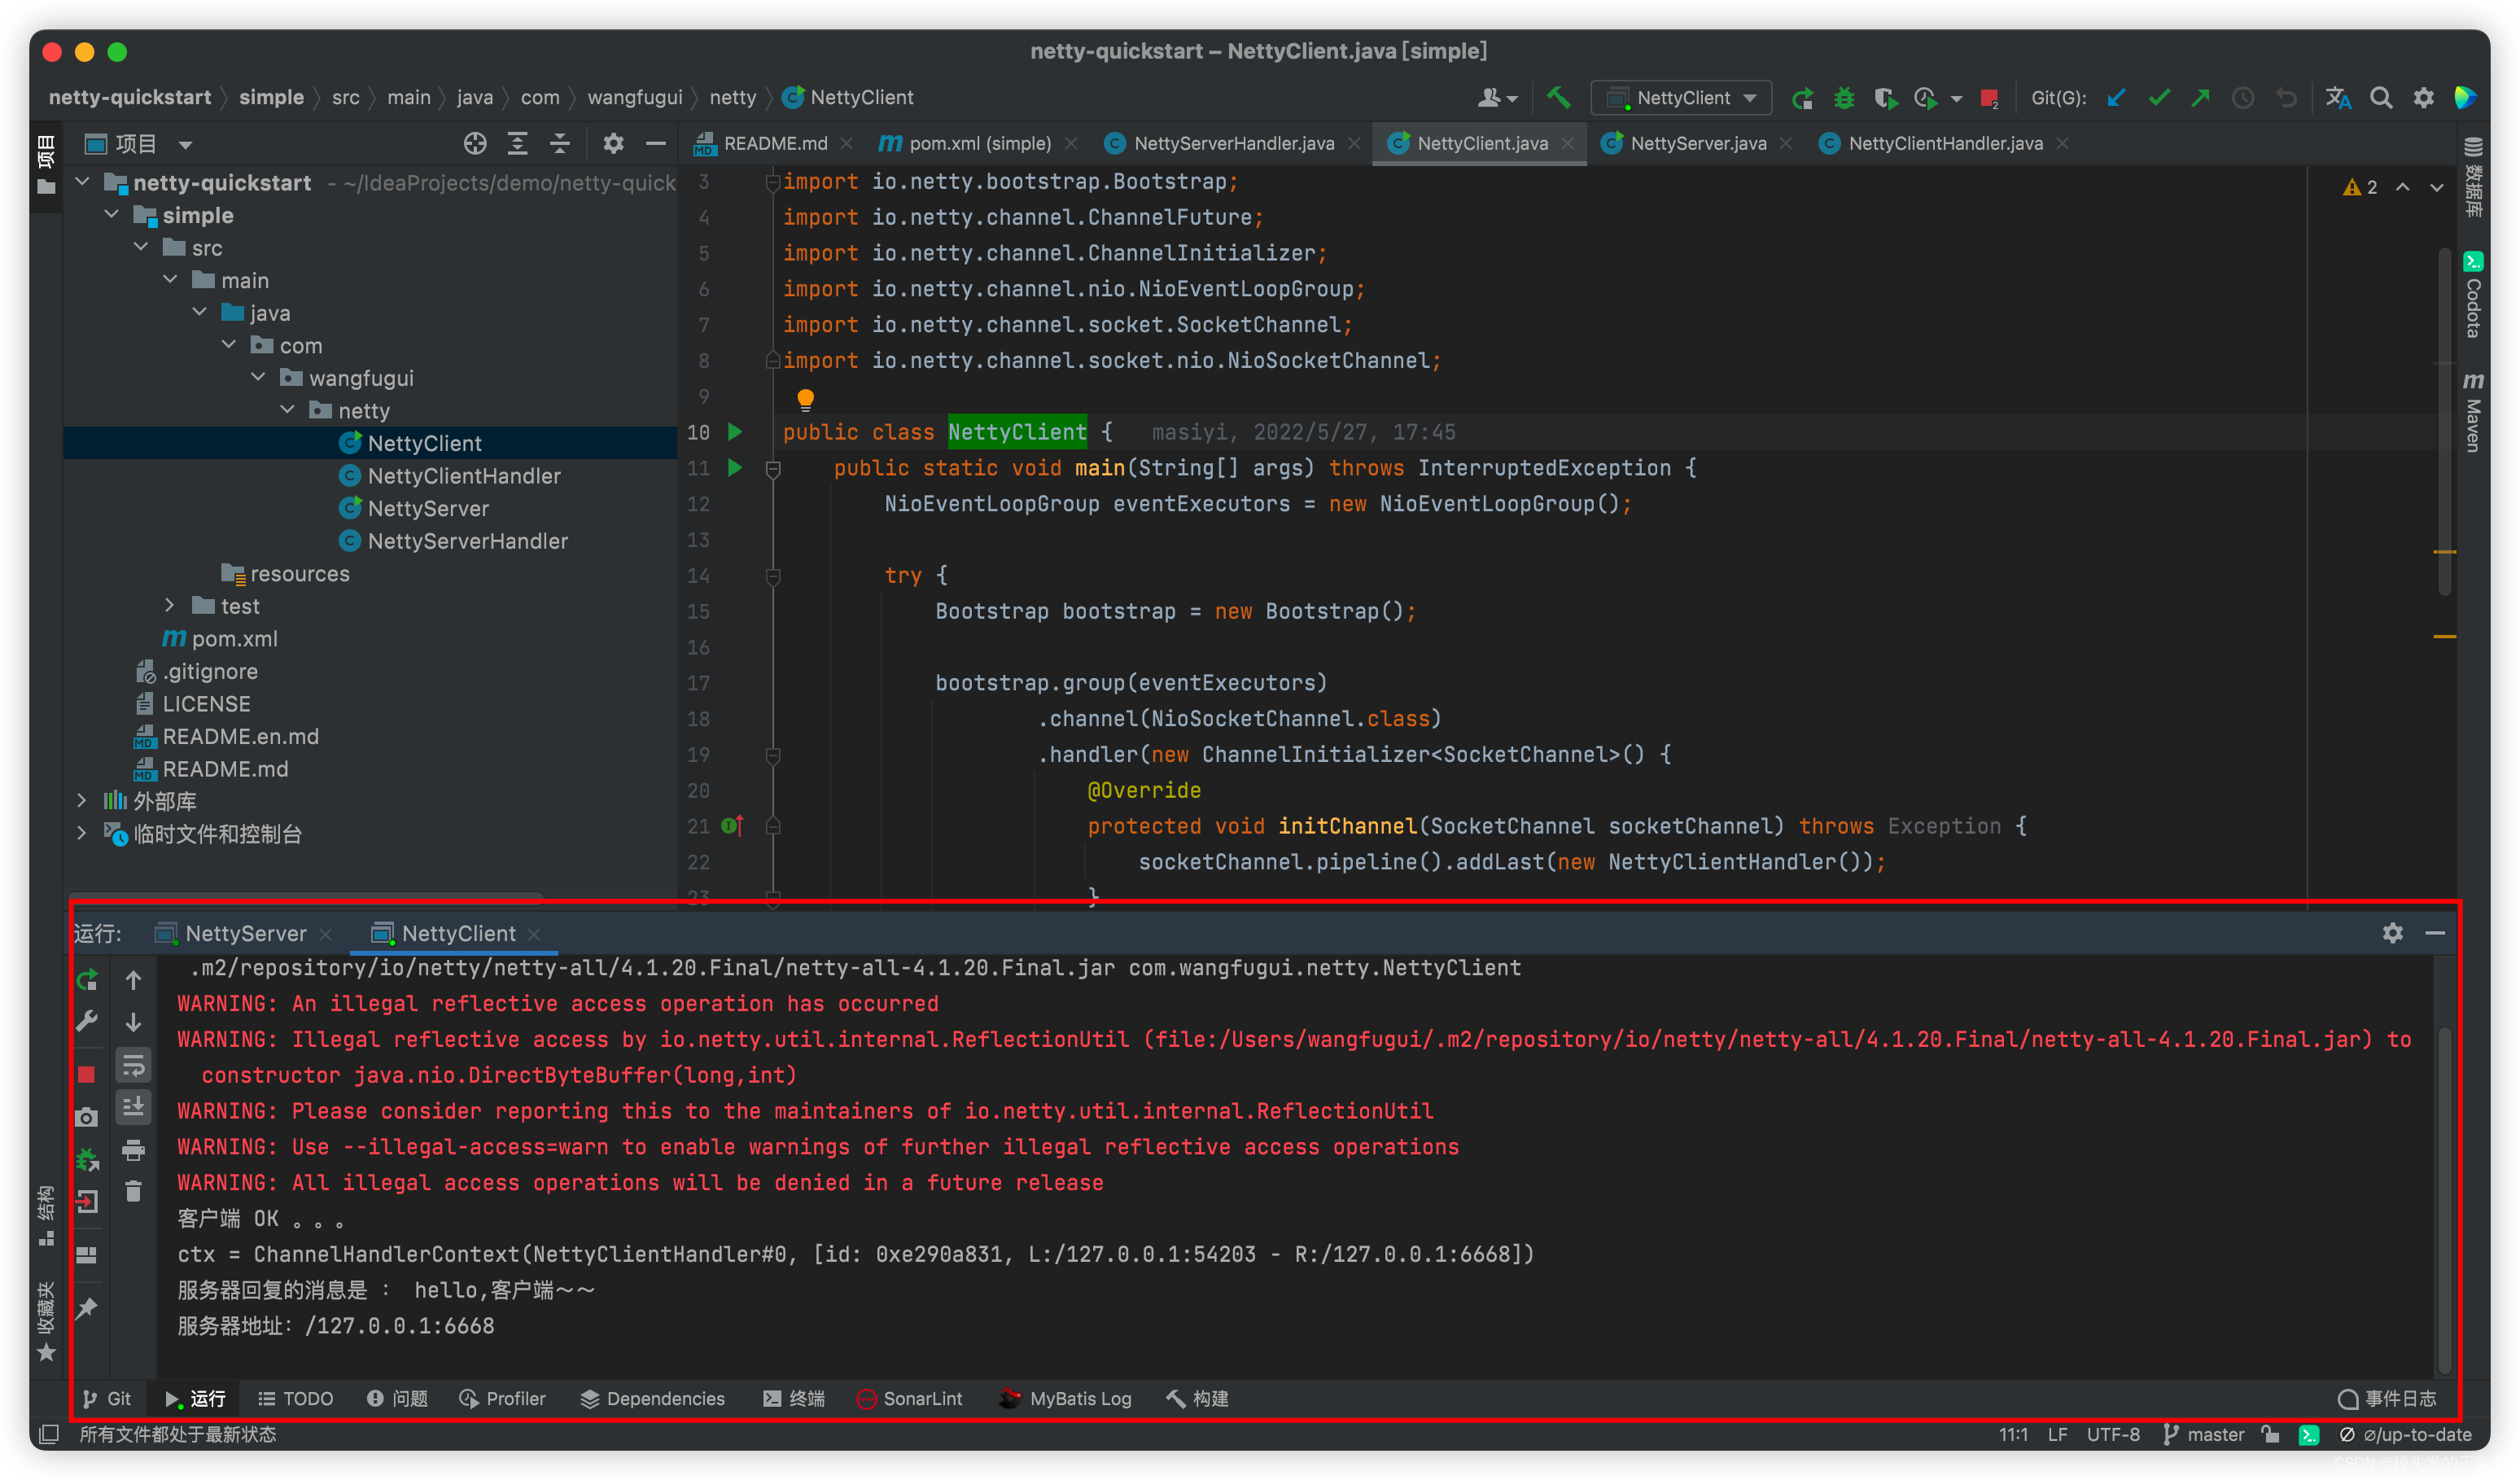
这样我们的客户端和服务端就实现通信了。我们的netty框架快速开始就已经完成了。
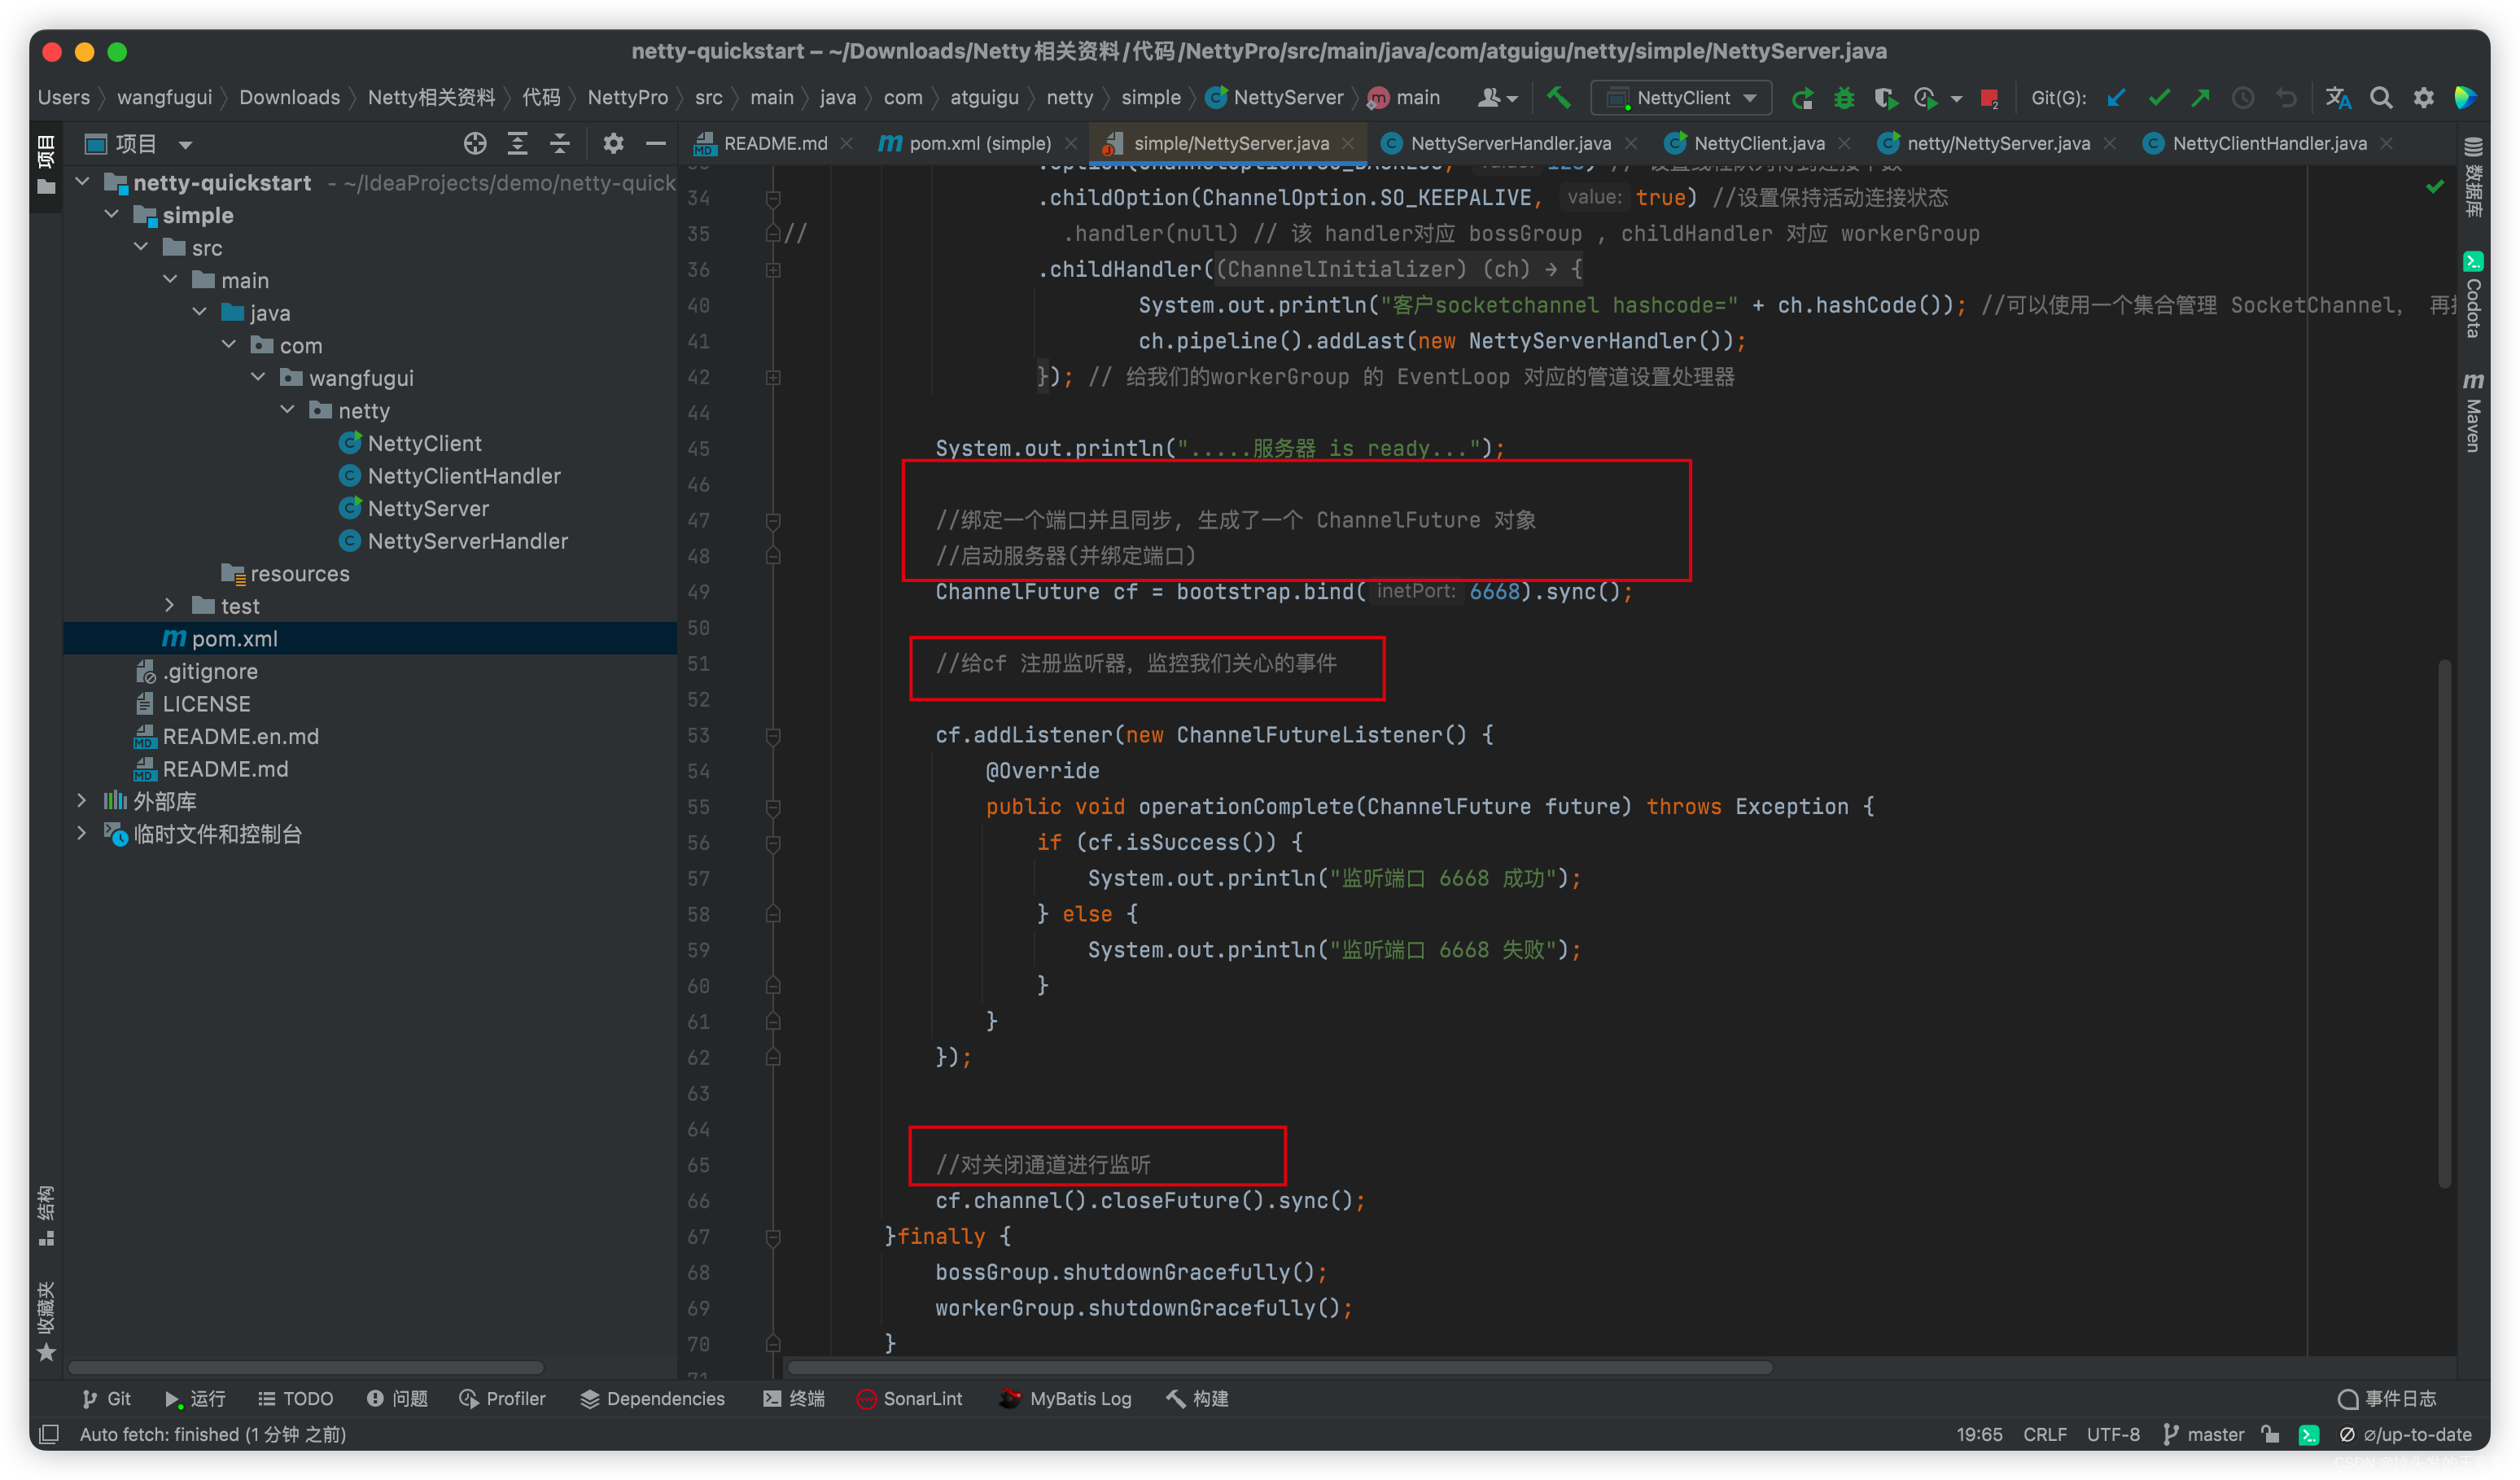
到这里肯定我们的同学还是一脸蒙,现在我给大家讲一下源码分析(这里引用了韩顺平老师的代码注释):

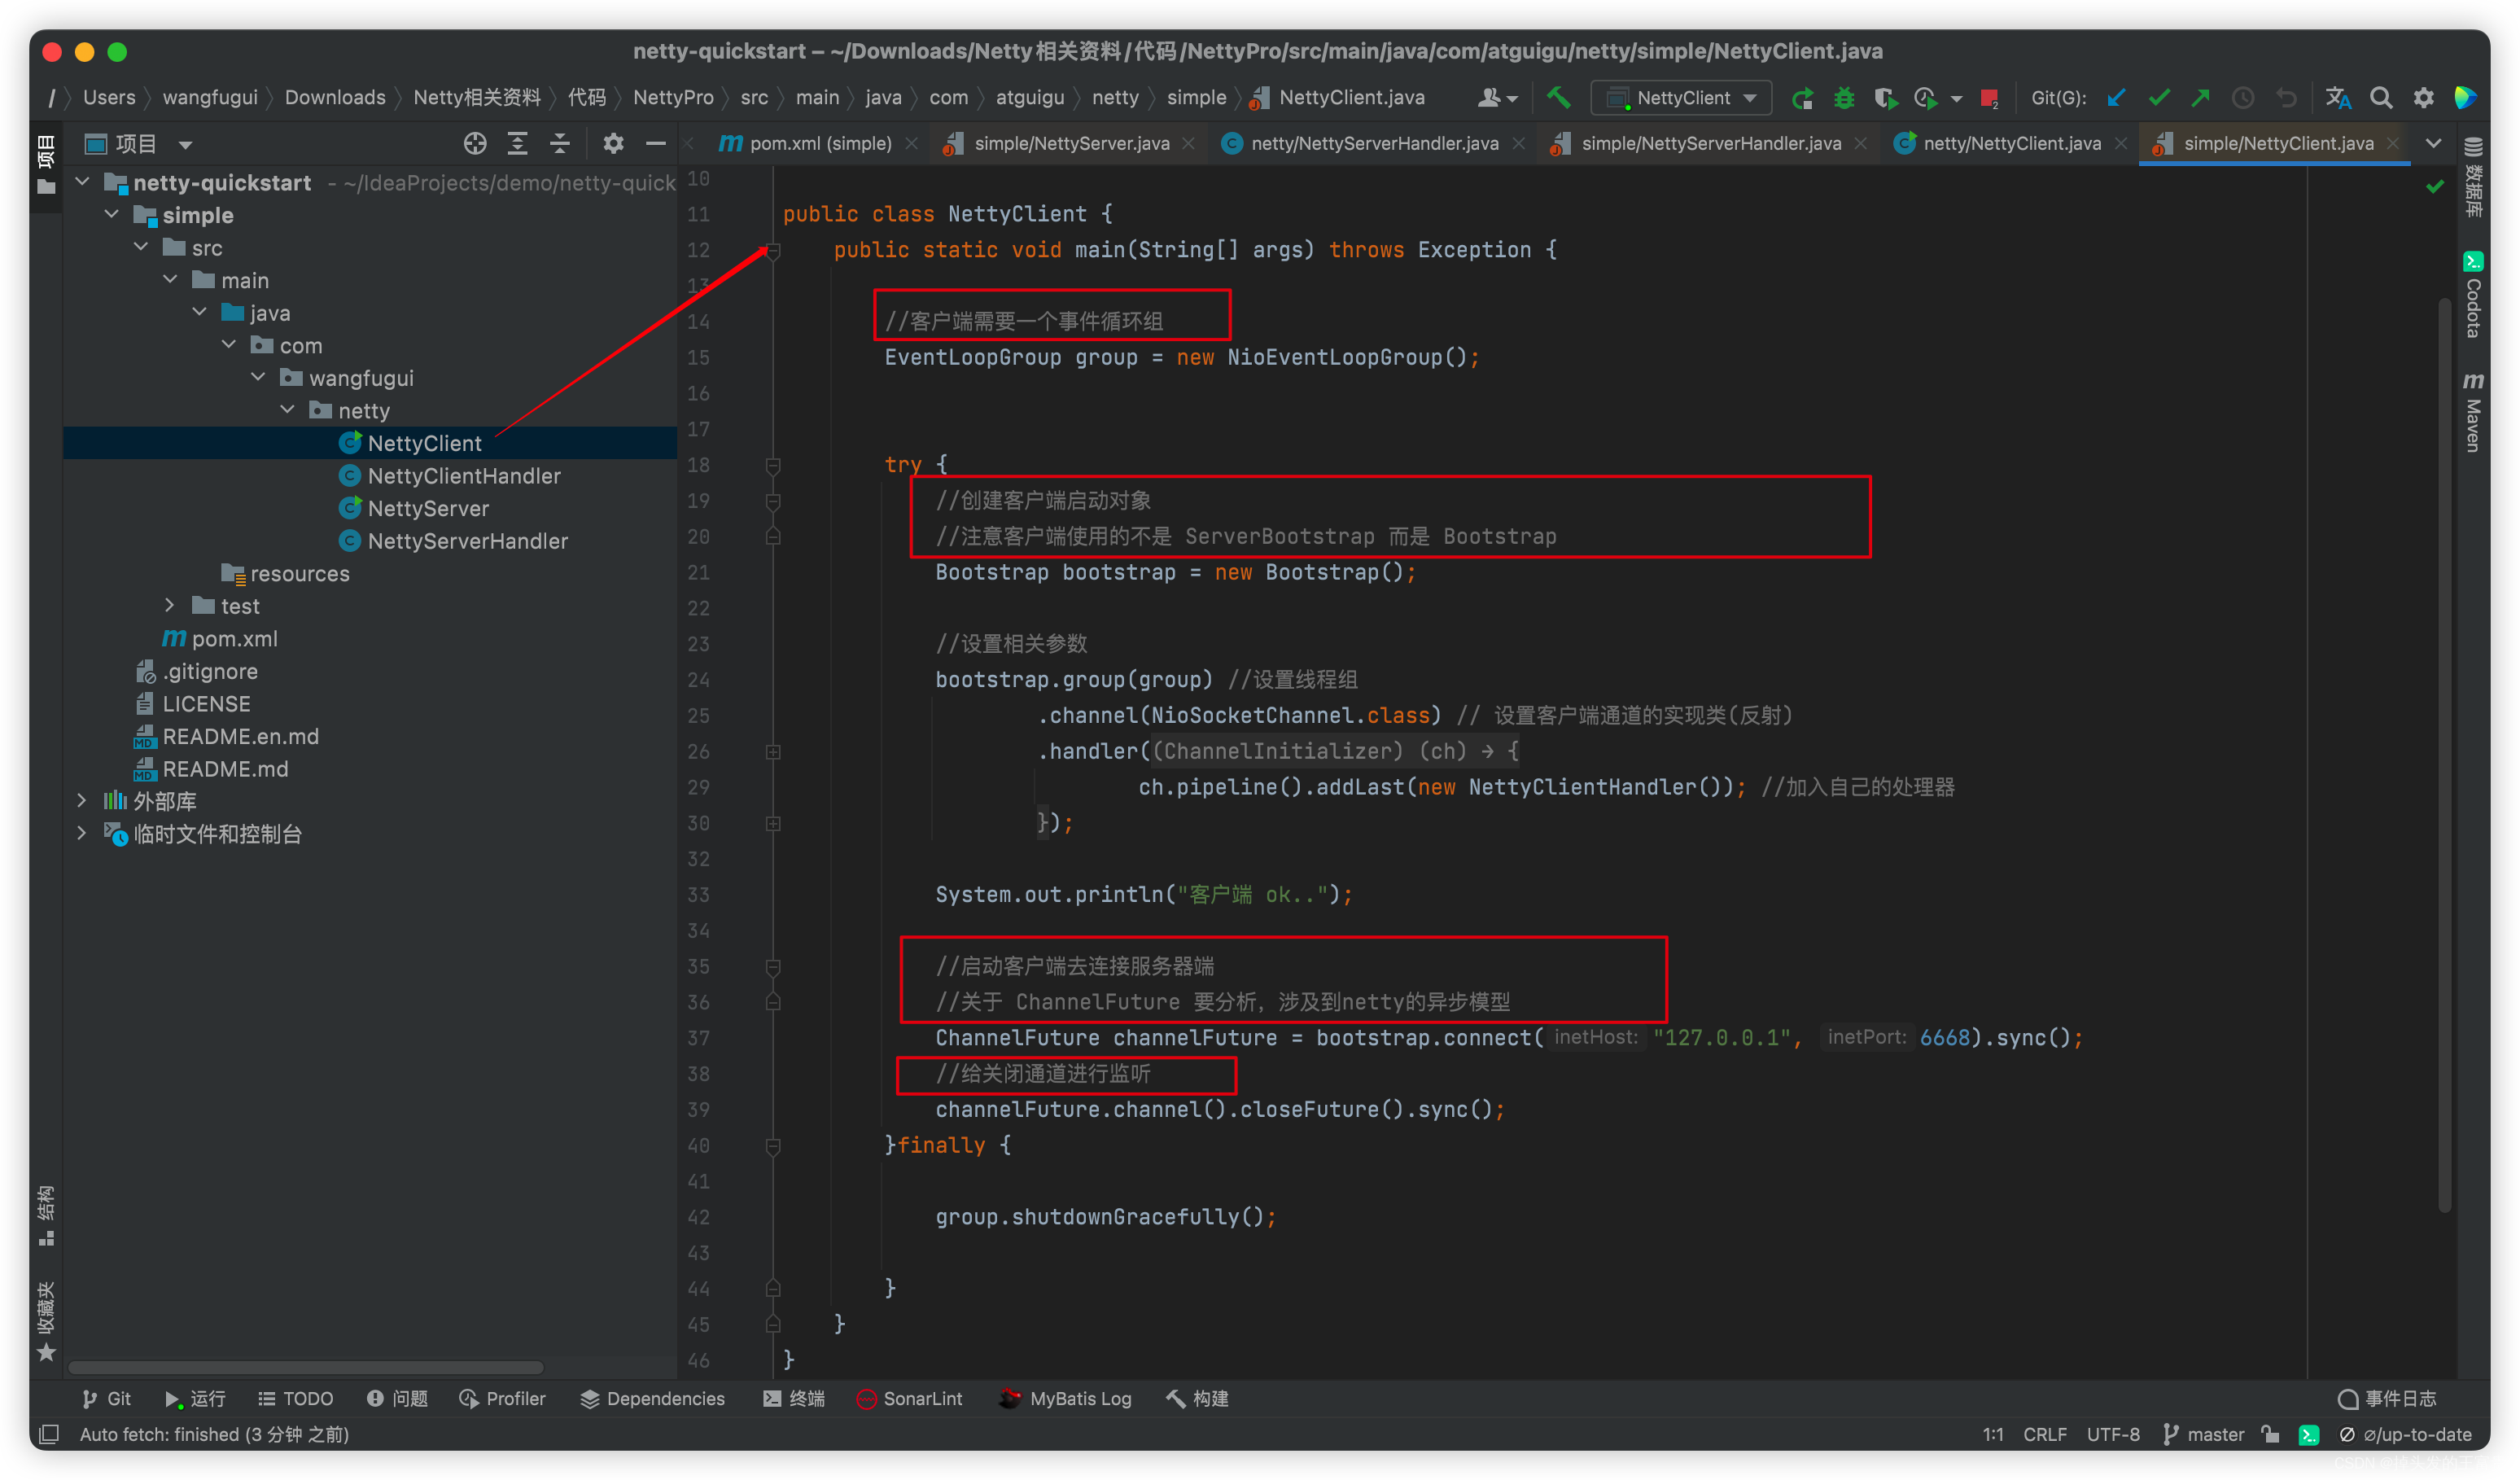
这样,我们的netty快速入门就完成啦!